Installing Outdoor Gravel Planters
April 11, 2023
Outdoor gravel planters are a versatile, low-maintenance, and cost-effective landscaping option for any garden or outdoor living space. These planters provide adequate drainage for plants and can be customized to suit your design preferences. In this article, we will guide you through the process of installing outdoor gravel planters, from selecting the right materials to maintaining the planters over time.
Selecting the Right Materials
When it comes to installing outdoor gravel planters, the materials you choose play a crucial role in the overall appearance, functionality, and longevity of the project. The essential materials you will need are:
Gravel: Opt for high-quality, crushed gravel that can provide proper drainage and support the weight of your plants. The size of the gravel should be between 3/8 to 3/4 inches to ensure good drainage and stability.
Landscape fabric: This material acts as a barrier between the soil and the gravel to prevent weeds from growing through the planter. Choose a durable, permeable fabric that will allow water to pass through while preventing soil erosion.
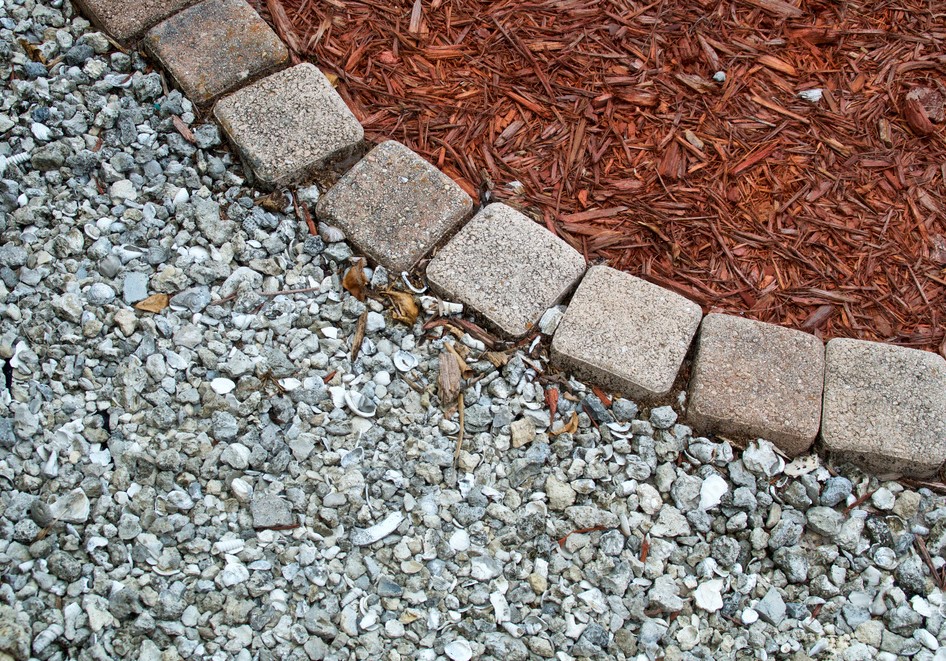
Edging: To create a well-defined border for your gravel planter, select an edging material that complements the surrounding landscape. Popular choices include brick, stone, metal, or plastic edging.
Plants: Choose plants that are well-suited for gravel planters, considering factors such as sunlight, water, and soil requirements. Drought-tolerant plants like succulents, ornamental grasses, and herbs are excellent choices.
Installation Process
Once you’ve made your material decisions, you can follow these steps to install your outdoor gravel planter:
- Plan the layout: Determine the size and shape of your gravel planter, taking into account the space available and the design you wish to achieve. Mark the area using spray paint, stakes, or a garden hose.
- Prepare the area: Remove any grass, weeds, or debris from the marked area. Dig out the soil to a depth of at least 6 inches to create a stable base for the planter.
- Install edging: Place your chosen edging material around the perimeter of the excavated area. Secure it in place by staking it or using adhesive, depending on the material.
- Lay landscape fabric: Roll out the landscape fabric over the entire area of the planter, ensuring it covers the edges and overlaps by at least 6 inches. This will prevent weeds from growing through the gravel and help maintain proper drainage.
- Add gravel: Fill the planter with the chosen gravel, ensuring an even layer of approximately 4 inches deep. Rake the gravel to create a smooth, level surface.
- Plant your greenery: Dig holes in the gravel for your plants, ensuring they are deep enough to accommodate the root ball. Place the plants in the holes and gently backfill with gravel to secure them in place.
- Water and maintain: Water your plants as needed, and regularly inspect the planter for weeds or any signs of settling. Top up with gravel as necessary to maintain a consistent depth.
Installing outdoor gravel planters is an excellent way to add visual interest and functionality to your garden or outdoor living space. With the right materials and proper installation techniques, you can create a low-maintenance and attractive landscape feature that you can enjoy for years.
As a leading provider of high-quality landscaping materials and services, Staker Parson has years of experience and a wide range of products to help you achieve the perfect outdoor gravel planter. For more information, visit our website or contact our team for expert advice!