44 Simple Weekend DIY Outdoor Kitchen Projects Using Stone and Concrete
March 8, 2024
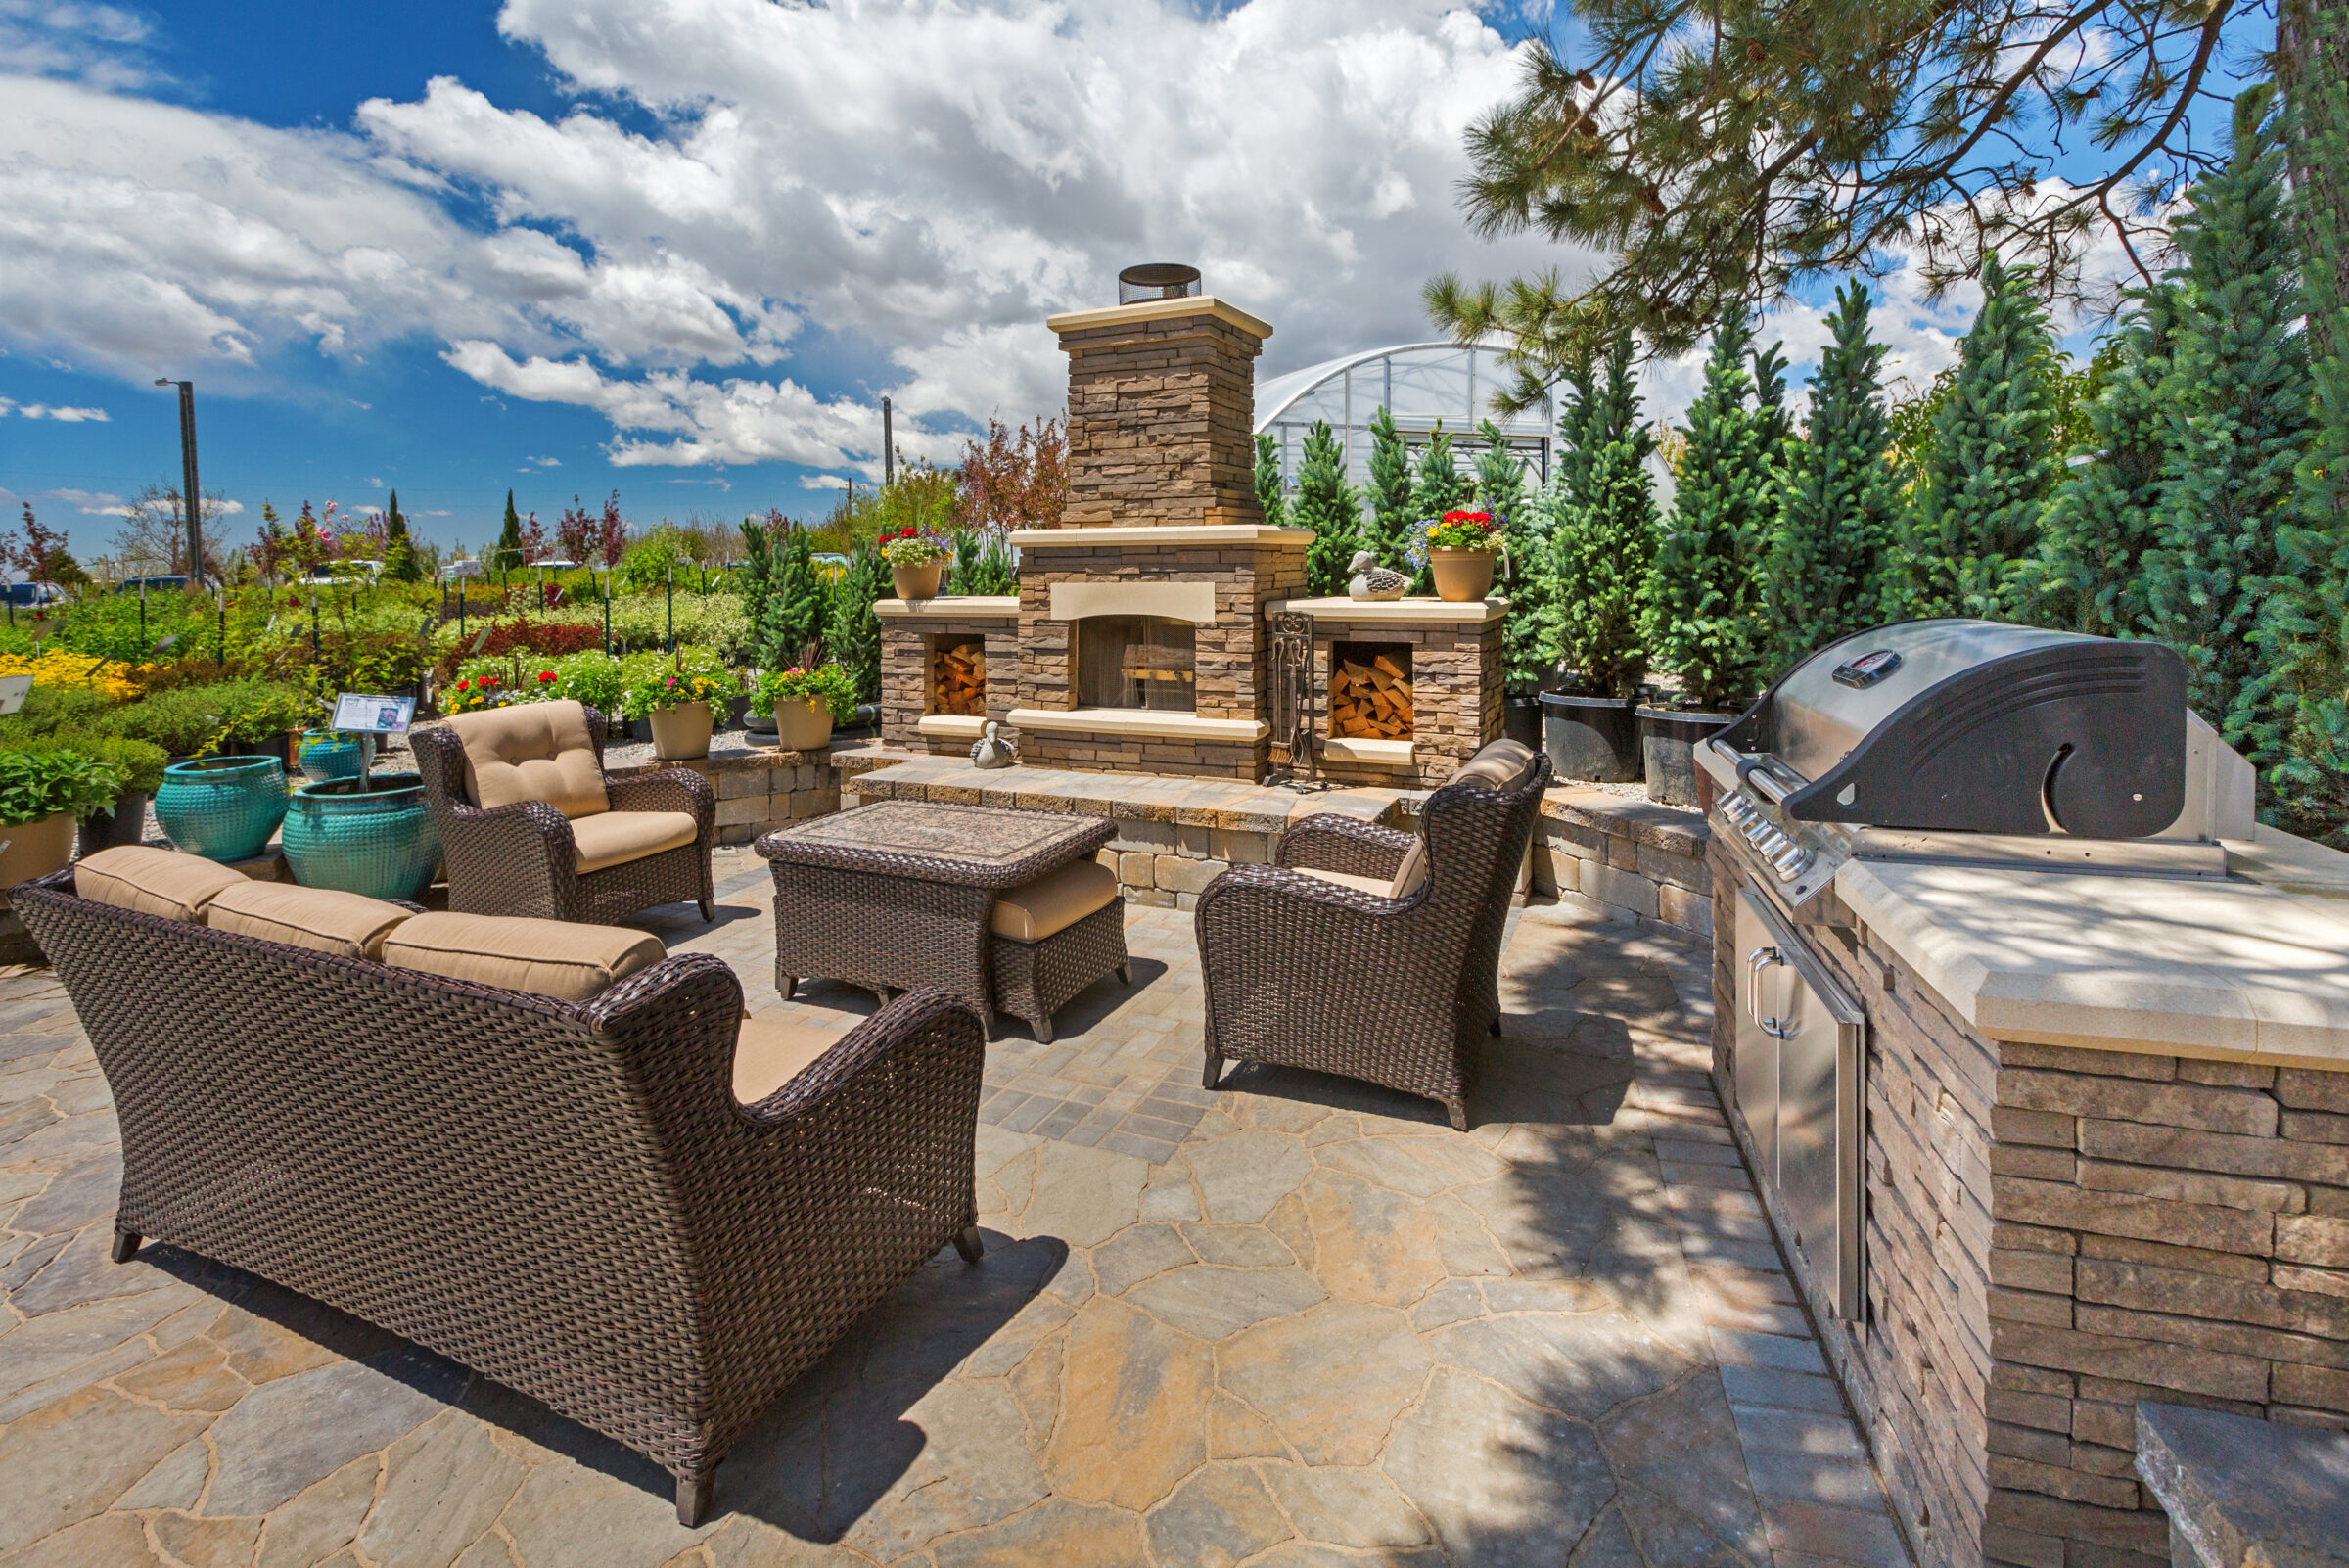
In the world of DIY projects, it’s important that they meet a standard of functionality and elegance. This is where outdoor kitchens come to life, fusing the rustic look of stone and the charm of concrete to create delightful spaces. Picture a cozy evening, grilling up a favorite meal in a space that’s been personally crafted, right in the backyard. They effortlessly withstand harsh weather, and they have the potential to increase a property’s worth should it ever be sold. To that end, let’s cover some options that could be used to transform any outdoor space.
- Building a Stone Patio Grill Station
Creating a basic stone grill station can transform an outdoor space into a fun and functional area, perfect for hosting barbecue gatherings, parties or even spending a chill night. The process requires a manageable set of materials and a simple, easy-to-follow process. Not to mention, equipping oneself with few tips can ensure the process will be a success.
Materials Needed
The key to a sturdy grill station begins with the right materials. The core elements include a selection of natural stones, they could be flagstone, sandstone, or limestone. It’ll also require a mortar to securely hold the stones together. As for the tools, it’ll require a trowel, level, and a circular saw with a diamond blade for cutting stones and a grill of choice.
Step-by-step Guide
With all the necessary materials ready, it’s time to commence with the process. The first step is laying the foundation. Start by outlining and leveling the area where the grill will sit. Then, spread a layer of mortar and begin to set the stones, making sure to maintain a level and secure base.
The second stage is all about stacking. Here, continue adding stones on top of each other, using mortar to hold them together. Ensure to stagger the joints for optimum stability. Remember to leave a front opening for the grill.
Finally, it’s time to install the countertop. Cut it to fit the size of the stone structure, then secure it atop the stacked stones with more mortar, ensuring it’s stable and level.
Tips for Success
It’s essential to choose the right type of stone for the grill station. Harder stones like granite are durable but might be difficult to cut and shape. Softer stones, on the other hand, like sandstone are easy to shape but might break with time. Finding the right balance is crucial. Lastly, stability is key. Always ensure that every stone and layer of the structure is balanced and secure. Having a steady grill station not only looks good but guarantees safety as it’s used.
- Crafting a Concrete Countertop for Outdoor Kitchen
Adding the perfect finishing touch to the outdoor kitchen can be quite simple with a DIY concrete countertop. By following some straightforward steps, the result will be a durable, easy-to-clean surface, ideal for outdoor cooking and entertaining. It’ll include several key phases: creating the form, making, and pouring the concrete mixture, and finally, applying custom finishes for that unique touch.
Materials Needed
Assembling all the necessary materials beforehand will help ensure a smoother process. Here’s what will be needed: bagged concrete mix, a concrete form that corresponds to the desired countertop dimensions, reinforcement mesh or rebar for additional structural strength, and a variety of finishing tools including a trowel, concrete float, and polishing pads.
Step-by-step Guide
To start, prepare the form according to the countertop size and place the reinforcement material inside. Mix the concrete according to the packaging instructions, ensuring a smooth consistency. Pour the mixture into the form, evenly. Once filled, use a concrete float to smooth the surface and remove any air bubbles. Leave the concrete to cure as instructed on the packaging. This can take several days, so be patient. After it’s fully hardened, remove the form carefully and begin the finishing process. Use a trowel to smooth out any rough edges, then progressively smaller polishing pads for a sleek finish. But remember, a concrete countertop doesn’t have to be bland. Consider adding personality to the project!
Design Ideas
Want to make it truly unique? Consider adding a dash of color to the concrete mix before pouring or embed decorative stones into the surface. This customization will give the concrete countertop a definite wow-factor, making it not just a practical addition, but also a conversation piece in your outdoor kitchen.
- Assembling a Stone Fire Pit with Seating
A stone fire pit with seating arrangements not only enhances the look of a backyard, but also provides an ideal place to relax and rejuvenate. This project entails the construction of a fire pit surrounded by a stone seating area, creating a cozy retreat that’s perfect for outdoor gatherings, family time, or a quiet evening under the stars.
Materials Needed
To begin, gather the necessary supplies. High on the list are flat rocks or fire bricks for the fire pit, gravel for the base, and larger stones for the seating area. It’s also essential to have concrete mix, a shovel, work gloves, and safety glasses on hand before starting.
Step-by-step Guide
First, choose a suitable location and dig a hole for the fire pit. The recommended depth and diameter depend on the size of the fire pit desired. Next, fill the hole with gravel for drainage and layer the stones or fire bricks to form the pit walls. Carefully cement the stones together and let it dry thoroughly. For the seating area, arrange larger stones around the fire pit leaving enough space for comfortable seating. Cement the stones in place, allowing the setting to dry completely before use.
Safety Tips
Mindfulness towards fire safety cannot be understated for this DIY project. Reminder: Build the fire pit at a safe distance from any combustible surfaces and always have fire safety equipment nearby when using the fire pit.
- Creating a Concrete Outdoor Bar
Always dreamed of owning a chic outdoor bar? Let’s transform that dream into reality with a stunning concrete outdoor bar. Not only does it enhance the aesthetics of the backyard, but also provides an impressive space for cocktail parties and informal get-togethers.
Materials Needed
Boost an outdoor kitchen’s appeal with a bespoke, concrete outdoor bar. Utilize concrete mix and wooden forms for a durable, weather-resistant structure. Shape the bar with forms to suit the necessary style. Once solid, add personal touches like outdoor stools, unique glassware, and beverage dispensers.
Step-by-step Guide
Begin by constructing the bar structure with wooden forms into the desired shape and size. Once the structure is ready, pour the ready-mix concrete in the structure, ensuring that it is spread evenly. Allow sufficient time for the concrete to dry. After the drying process is complete, the top countertop can be constructed with a slightly larger wooden form and similar concrete pour.
Customization Ideas
Making the outdoor bar truly one-of-a-kind is all about the details. Therefore, consider adding little touches of personality like embedding colorful glass pieces into the countertop before it dries. This not only gives a striking visual appeal but also creates a delightful play of light on sunny afternoons. Experiment with unique shapes for the bar structure itself, such as curvatures or L-shaped formats, to bring more character to the space.
These simple DIY projects can result in stunning transformations to any outdoor space. Constructing a stone patio grill station, crafting a concrete countertop, assembling a stone fire pit with seating, and creating a concrete outdoor bar are all achievable within a weekend. Such endeavors not only provide a sense of achievement, but also enhance the functionality and aesthetic appeal of outdoor kitchens. Embarking upon these projects can quite literally set the stage for memorable meals, conversations, and celebrations in the great outdoors. Feel the satisfaction and enjoy the functionality these wonderful additions can bring to life.